Sourcing Images for Your Interior Design Blog (The Definitive Guide)
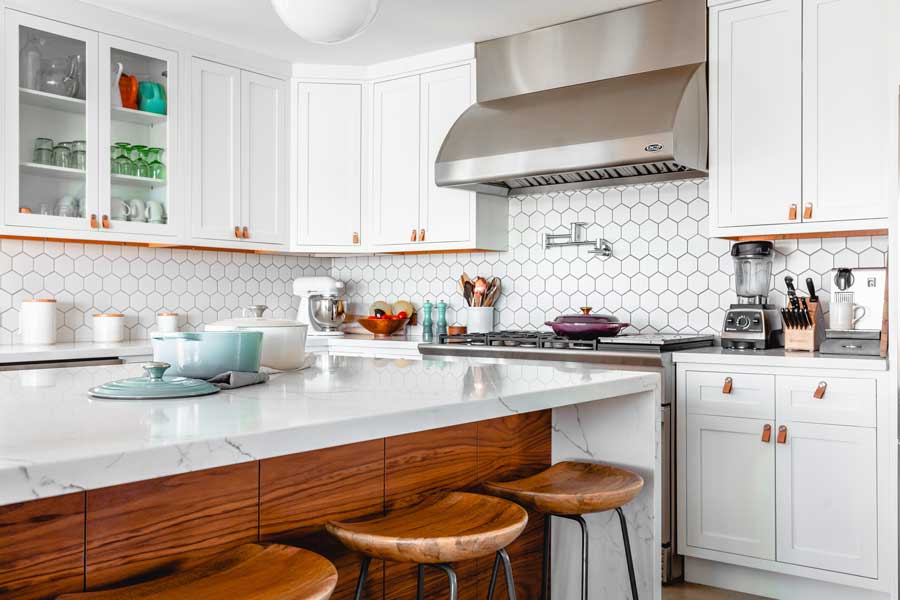
At first glance, it’s all about the visuals.
Honestly: What happens when you click on a link to a blog post, only to be confronted by a mammoth brick of text?
No matter how compelling the content is, if there are no images to break things up and illustrate the article, you might just get sleepy and lay down.
This is the internet. We all think words are lovely, but we prefer them in small doses.
Because you work in a visual industry, I don’t actually have to sell you on this. It’s a question of implementation.
So why is sourcing images so challenging?
For designers and other home improvement pros, sourcing the right images can be tough for a few reasons:
A… You want to use the highest quality images for the sake of your brand.
B…And ideally, every image would display your product or service, but you probably don’t have a billion dollars in the budget for endless professional photography or, more importantly, a bottomless pile of photo-worthy projects.
(If you do have a billion dollars for endless professional photography: Why are you even reading this? Don’t you have a Banksy to bid on or an exotic pet to tend to?)
C… Legally, we can’t just go around grabbing images off the internet at will. You’re probably not into receiving threatening letters from companies like Getty Images (it happens) or “this is not your photo” emails from the people who own them.
So, let’s get into some solutions.
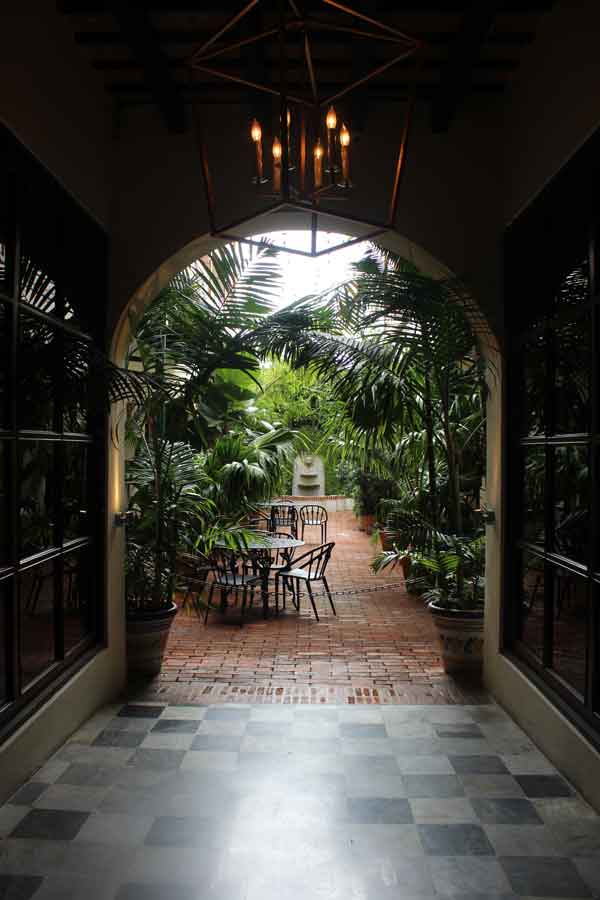

1. Use Existing Images, But Focus on the Details
Your portfolio is obviously the first source for high-quality pictures…but even the most prolific firms have limitations. Simply put: You only have so many photos of your work.
But you can get a little extra mileage out of those images by finding details you want to highlight, cropping in close, and building a post around the content.
Maybe you’ve worked on homes with spectacular architectural details or you’ve got something interesting to say about lighting on nightstands. Zeroing in on one small element will allow you to use your portfolio pictures in completely new ways.
HOW TO:
Look for vignettes within your larger images that can illustrate a point.

Craft an informative post and hone in on something specific. Don’t be afraid to crop, draw in arrows to point out details, highlight certain elements or dig through the images that didn’t originally make the cut.

2. An Image Does Not Have to Be a Photo of a Finished Room
The goal here is to illustrate and expand on the topic. We want to keep the reader entertained, impress them, delight them, inspire or occasionally repel them.
(Think ‘before’ photos… The worse, the better, am I right?)
Essentially, we want to elicit emotion with our writing and our images. But this can be done with anything visual, so don’t be afraid to think outside the proverbial box.
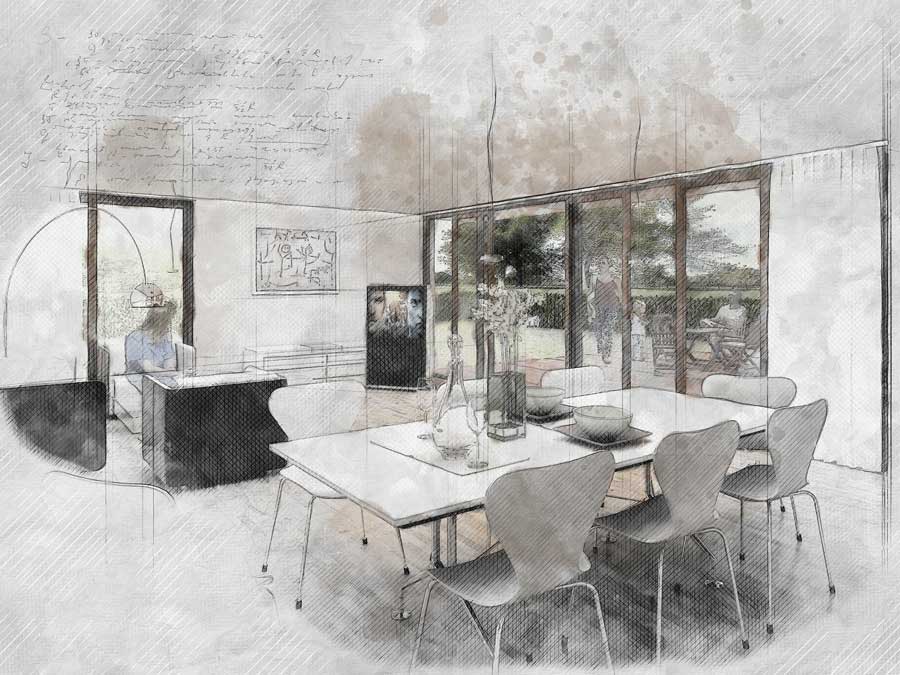
Renderings, elevations and floor plans are fascinating and a perfect demonstration of expertise. A sketch on a napkin is a sweet little peek under the hood of your process.
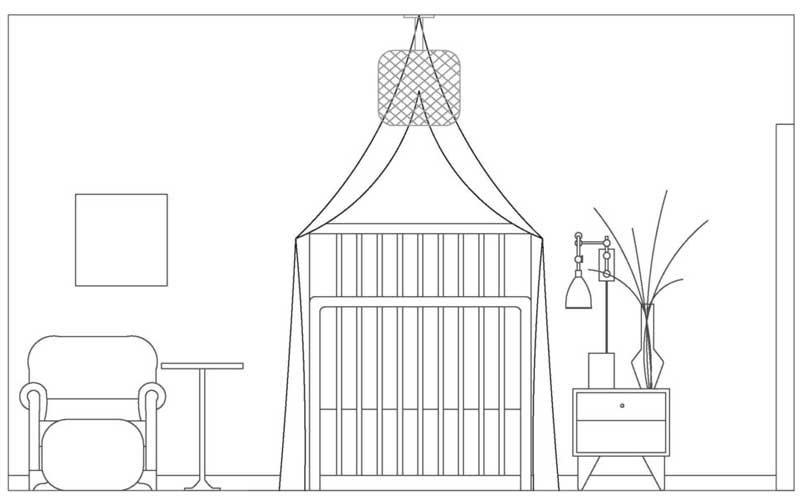
Let’s talk more about renderings! They can be simple and utilitarian or they can be detailed and gorgeous. The best ones can be featured all over your website—not just on the blog.
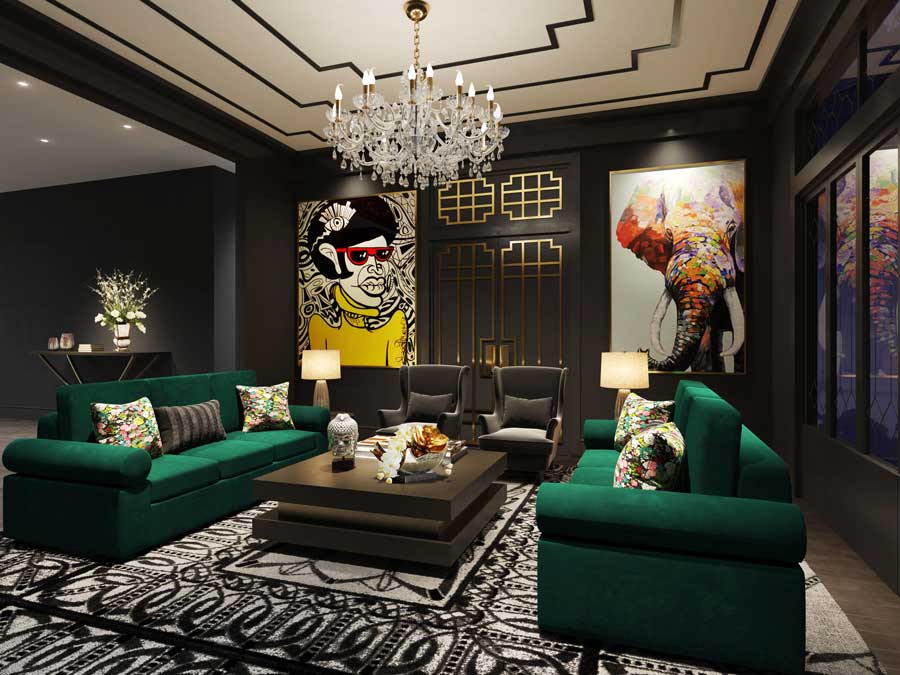
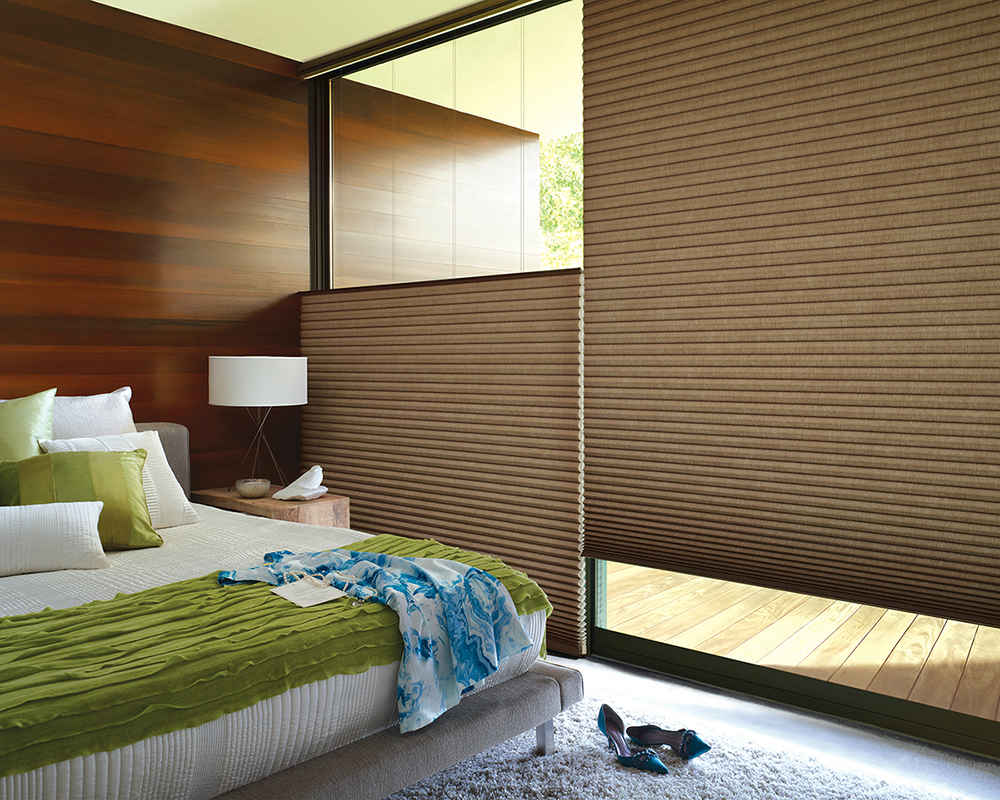
Some manufacturers are happy to provide images of their products— from flooring to window treatments to paint to lamps to tile. The situation varies: They may have a specific gated area on their website for just this purpose. And, as a bonus, you may be able to get high-resolution versions for other uses.
This is a win-win: They want the promotion and you want the image.

Photos of humans are always welcome (humans love humans!), whether we’re talking about your clients or your team on install day.

Or embed a GIF— as in, a funny gif if that’s your brand voice— or a create a custom GIF that illustrates something that requires a little bit of movement.

Get crazy. If it’s visual, it could work.
HOW TO:
When writing a post about a project (and please do that!), include artifacts from your process: moodboards, elevations, etc. They are a great demonstration of expertise and ‘how it works’.
Don’t forget to take ‘before’ photos…and lots of them. In a perfect world, you’ll match them up with corresponding ‘after’ photos—taken from the same angle so the viewer gets the full, “Wow, that’s a shocking improvement!” experience.
Ask your favorite vendors if they have a database of images for promotion. Our clients who have access to manufacturer images typically have a relationship with the company and have received access to a database via the rep or marketing department.
Grab some shots of you and your team on install day. Everyone likes a look behind the scenes, especially when they’re thinking about hiring you.
Use Photoshop or an online program to build a custom GIF. Or search online sources for existing options.
3. Take Advantage of Free Stock Photo Libraries
It used to be tough to find good free images, but the situation has improved dramatically over the years.
Free stock photos work beautifully for lifestyle type of posts, when the topic you’re covering is appealing to your audience but maybe not directly about your service or product. Think food, wine, entertaining, holidays, etc. But you can find interior shots too.



Imagine your team is putting together a holiday post: You may not have, say, a photo of a Christmas tree with all-white decorations or a sky filled with fireworks. But not everything has to come from your personal library.
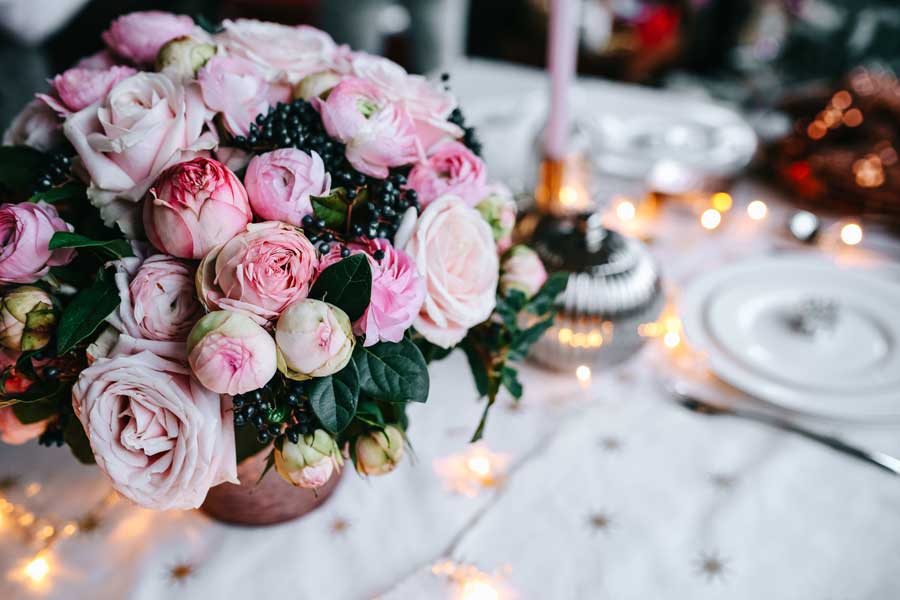

You may be able to find an image that evokes the look and feel that will set the stage for your post. And it may be free.
Where to start? Here are a few of my favorite places to grab the best free stock images.
Free Stock Photos
Unsplash: unsplash.com
Pexels: pexels.com
Pixabay: pixabay.com
Kaboompics: kaboompics.com
Stock Snap: stocksnap.io
#unsplash4life 🙂
5. Strategically Invest in Paid Stock Photos
Sometimes you might need something a little more specific than what the free sites will offer. When you’re blogging with purpose, paying for an image that perfectly illustrates your post is a worthwhile investment. Especially if you are blogging about something that most people can’t easily bring to mind.
Stock images have come a long way over the last few decades, though there are still mountains of terrifyingly corporate and corny (thumbs up, guys!) examples out there.
Scenario: The owner of the firm has just returned from Morocco and you are writing a post on finding color palette inspiration. Yes, you may have some great images on hand from her trip. Or you may find the iPhone images aren’t as awe-inspiring as being there.

Grabbing a few key, professional photos may be the way to go. Sourcing from a stock photo site will allow you to use her photos and also bring colors from India, Greenland, and Italy. Your options are expanded and your blog will look amazing.

HOW TO:
You don’t have to spend a lot. Yes, Shutterstock or Getty Images can be pricey, but many of the paid sites offer packages where you can get access to images in bulk.
Subscribe to AppSumo to watch for deals, take advantage of Black Friday sales, or just invest in a larger package and you could end up paying a dollar or less for useful, high-quality pictures.
5. Embed Inspiration from Houzz?
If you want the creative freedom to reference a huge range of homes and interior designs, you may want to consider a go-to source. Houzz offers an option to embed images into a blog post that falls within the rules of their platform.
Here you can source everything: images of that countertop you’ve wanted to discuss AND the perfectly minimalist space filled with delicate glass bowls for your tongue-in-cheek post about designing a living room for households with toddlers.
But there some caveats:
When you embed images from Houzz, they will always link to Houzz and can potentially drive traffic and SEO ‘juice’ away from your scrappy local business website and back to everyone’s favorite(??) giant corporate design juggernaut. That’s why they offer this—to create links back to houzz.com.
There are also size limits (500px wide is the largest option, which you can see above) and Houzz will embed their own captions with the image.
It’s wildly imperfect but it is an option.
HOW TO:
If you’re browsing Houzz and want to embed an image into your blog post, start by looking for the three-dot icon.
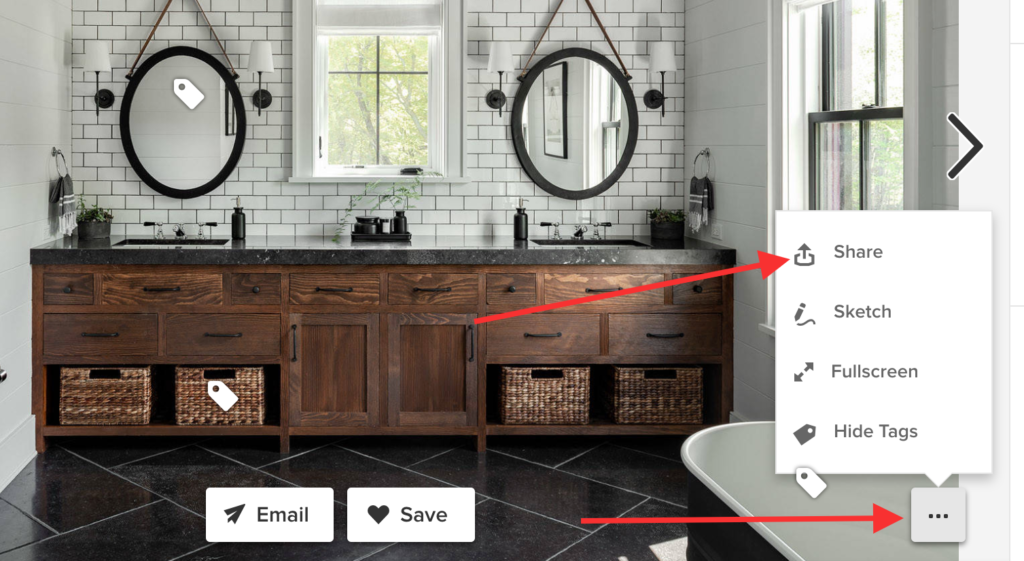
After you select ‘Share’, choose ‘Embed’ and copy/paste the code snippet into your blog post.
(If you’re thinking, “Wow, people can embed MY images from Houzz on their site without asking me or linking back to my website??”…you are correct! Just one more fun aspect of the fine print, my friend.)
6. Embed Literally Anything from Pinterest
Pinterest is a massive search engine and has everything—including some of the most compelling visuals on the internet. Embedding an image is great because it gives you legal access to just about anything and it allows the original site to stay credited (in theory?…assuming they were??)
But there some caveats: It’s also not so great because of size limitations and extremely loud Pinterest branding. This is an actual example of the embedded ‘large’ option:
HOW TO:
Be sure to click through first. Everything you post on your site is a representation of your brand, so you want to make sure the Pinterest image isn’t linking to a spammy diet pill site or some other nonsense.
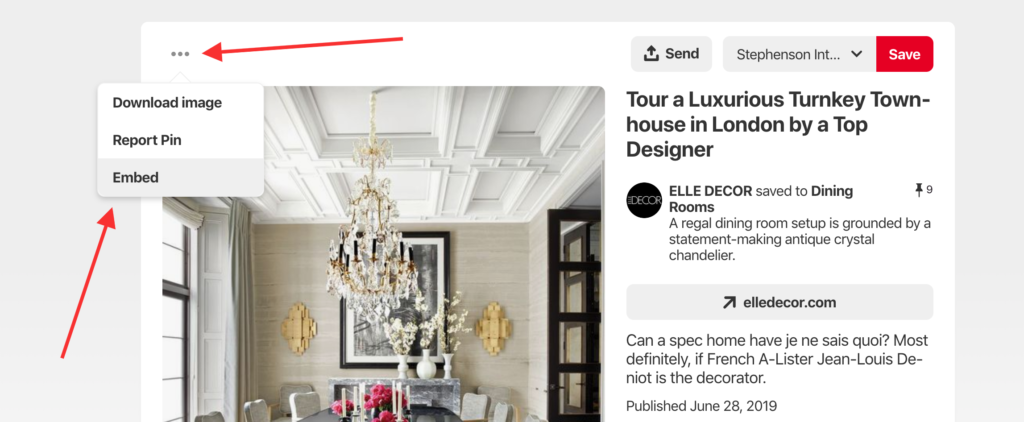
When viewing a pin, click on the three-dot icon and then ‘Embed’.

On the next screen, look for the code snippet to copy/paste into your post.
7. Go Directly to Your Favorite Photographer or Designer
You may also come across a picture you love in the wild. If you’re scrolling through an article and come across a gorgeous image, don’t assume it’s off-limits to use. Or, more specifically, you should assume it’s completely illegal and a huge karmic no-no until you get consent from the photographer.
It can really be as simple as searching the photographer’s name online, finding their website, and sending off a quick note with your request. Be sure to note that you’ll credit them and the designer, link to their site, and take a moment to make sure they know you’re a delightful human.
Some will say no or require payment, but you won’t be surprised to learn how many professionals will grant permission to people who are friendly, respectful and looking to promote the image.
HOW TO:
I’ll give you an example:
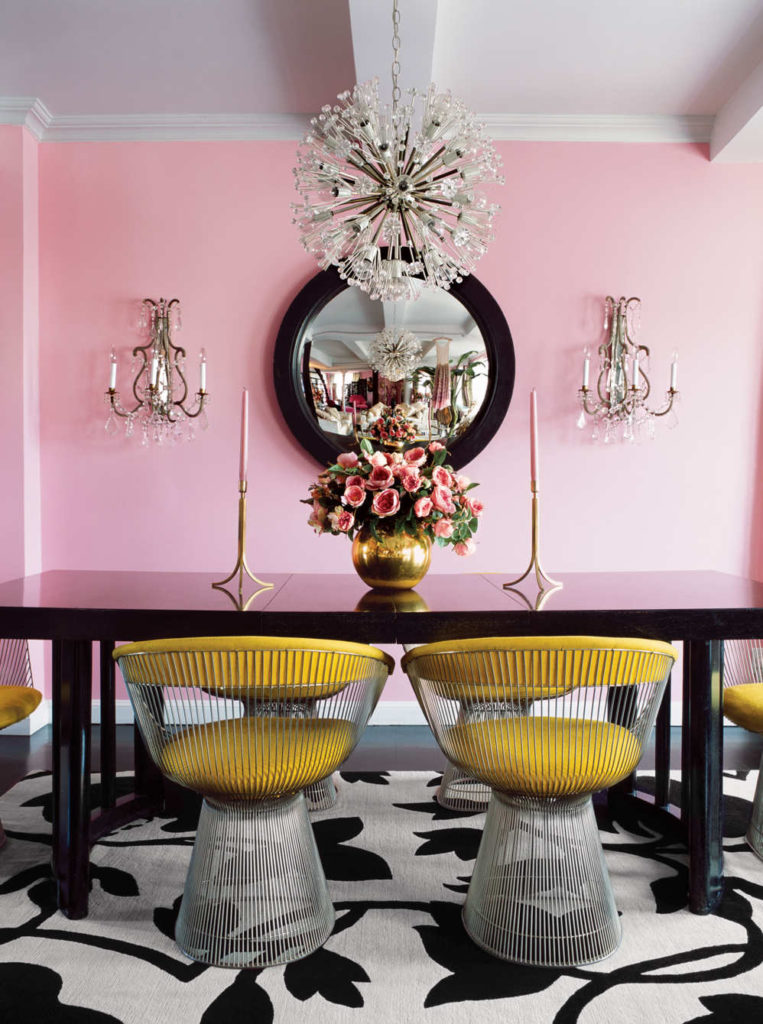
We created a short series in 2015 about taking web design and branding inspiration from beautiful interiors. After seeing Betsy Johnson’s dining room in New York Magazine (and becoming basically obsessed with the mustard and pink palette), I Googled the photographer to get contact info, emailed her and got direct permission to use the image on our blog and in this post.
8. Become Your Own Favorite Photographer…
If no image in the world will do your writing justice, you can always take the path of most resistance—learning how to take your own photos.
No surprises here: You’ll want to make sure anything you shoot is high quality and as professional-looking as possible. Nothing says, “don’t trust my words” like a post lined with low-quality photos.
Who knows? You may just discover your new favorite hobby. (Because you have tons of free time!) Anything is possible.
HOW TO:
Realistically, anyone can learn anything for free on the internet. But sometimes it’s much more efficient to go to a reliable source and just get the best possible information.
For example: Udemy has an Interior Design Photography Course (I have no idea if it’s good…but the reviews are not too shabby).
And it’s about more than taking a photo: Pro photographers also digitally retouch images to make sure they show up supernaturally gorgeous online.
10. …Or Drop In Some Video
Video! Yes, it can originate on Youtube, Instagram, Facebook, etc. But it can also live in one place (i.e., Youtube) and be embedded into a second place (your blog posts).
You can create custom video content for a post—like Claire Jefford’s post on Agreeable Gray. Or you can use existing videos—yours or someone else’s—to elevate or expand on your article.
It comes down to this: There are people in the world who want to scroll through a written post and there are people in the world who want to watch a video. If you can swing it, let’s have them both fall in love with you.

HOW TO:
I’ve had clients who took Claire Jefford’s video course and I’ve heard nothing but GREAT things. She covers everything from finding the courage to be on camera, to recommended gear, to editing.
11. Remember Your Blog When the Photographer is Coming
The primary goals of a professional photoshoot are clear: Get great images for your website—and possibly to pitch to shelter magazines—so you can effectively sell your products or services. Maybe take some extra images for social media. If you’re firing on all cylinders, you may grab some new headshots of the owner or the team.
But remember your blog.
HOW TO:
If you’ve got an editorial calendar or even a casual list of ideas, take a look at it before your next photoshoot. Are there some images that would tell a story, illustrate an idea, help with a tutorial or create some special kind of inspiration? Get those while you can.
“But…I see TONS of blogs grabbing images from anywhere they want. Why can’t I do that too? What if I credit the source?”
You can do anything! But it’s risky business. First, it’s not legal to use an image that isn’t yours without permission.
(#notacopyrightattorney…If you’re curious about the ins and outs of this, consult one for details.)
Second, asking for permission to use an image and giving proper credit is a GREAT way to build relationships. As I mentioned above, you will very often be greeted with nothing but delight at this request.
And, when you ask for permission, you’ve done two things: Covered yourself and made your presence known. The photographer or designer may even promote your blog post, now that they know that it exists and that they’re in it.
It’s not always quick, but it’s worth it.
Strategic blog posts can be a powerful marketing or sales tool. They tell a story about your business when a client is just getting a sense of your aesthetic, so you don’t want to cut corners. As we always say, your blog is basically a stage for your business.
What kind of show do you want to put on?
So…how are YOU sourcing your photos?
Got any additional ideas? Leave a comment and let’s discuss.






Silvia
| 13 September 2019Excellent blog post! You really nail it and how much wealth of information.Thank you!
Nicole Heymer
| 14 September 2019Fabulous! So glad it’s helpful, Silvia!
Summer
| 13 September 2019Pure gold here, thank you! High quality images are a perpetual struggle for me, but now I’ve got the DEFINITIVE GUIDE! You’re the best! 🙂
Nicole Heymer
| 14 September 2019*DEFINITIVE*:) Thanks, Summer!
Kristie Barnett, The Decorologist
| 14 September 2019Nicole, this is a really great article! As someone has been blogging for 10 years and has written over 1200 articles, this is an issue for anyone blogging in the design industry. Over the years, I’ve moved towards 90% of my own images in blogposts, but that is no easy feat! Thank you for your comprehensive delve into this issue.
Nicole Heymer
| 14 September 2019Wow, Kristie—it means a lot to hear that from such an experienced blogger. You are most welcome!
Linda
| 14 September 2019Such a great post, thank you so much!
Nicole Heymer
| 14 September 2019Thank you for reading, Linda!
Lisa Peck
| 14 September 2019What an insightful post! Thanks for all the great information. We try to use only our own images now but having these resources is excellent.
Julie
| 14 September 2019Great post. I saved it to my “business blog posts” board on Pinterest!
Nicole Heymer
| 14 September 2019Well, that’s lovely! Thank you so much!
Mary Ann Benoit
| 15 September 2019Wow, I learned a ton from this post, especially about embedding content and I love the idea of creating Gifs! Thank you!
Nicole Heymer
| 15 September 2019Awesome:) And I agree—there’s something really fun about creating your own GIFs.
Sheri Bruneau
| 15 September 2019This is a very comprehensive, wonderful post! I also try to only use my images as well. I’m a huge fan of adding in our renderings to showcase our process. Saved and pinned!
Nicole Heymer
| 15 September 2019Thank you for the pin, Sheri! And yes, if you can only use your own images…THAT is interior design blog post nirvana:)
Darla Powell
| 15 September 2019So freaking good! xoxo
Nicole Heymer
| 15 September 2019Thanks, friend! xoxoxo
Catherine
| 15 September 2019Love this! SO many helpful hints and tools here, and a few I’d never heard of. I’ll be stashing this one in the bookmarks to refer to again!
Nicole Heymer
| 15 September 2019NICE, Catherine. That is absolutely delightful to hear.
Niki McNeill
| 15 September 2019Wow! This is such a great guide to using photos! I have been blogging since 2007 and the process of gathering images has changed SO much over the last 12 years. Sometimes I look back at old posts and cringe. Did you ever use Photobucket to host photos? I did! And yikes what a mess when they changed their policies.
Nicole Heymer
| 15 September 2019I didn’t use Photobucket to host photos, but I DID have a blog in 2007 too! It was a vegetarian recipe blog and I actually made the AOL home page (I mean…it was 2007 so that was very exciting) as one of their top 5 health blogs. You are so right that things have changed. Like, every single one of us had a BLOG ROLL back then:)
NICOLE DELACRUZ
| 15 September 2019LOVED this post! Thank you for sharing so much useful information!
Nicole Heymer
| 16 September 2019Fabulous! Thank YOU for reading:)
Ashley
| 4 November 2020Sadly, embedding a photo from houzz doesn’t protect you at all. It is still copyright infringement. Houzz doesn’t care that the copyright trolls might come after you, it is in the fine print that you need permission.
Nicole Heymer
| 4 November 2020Is it really??! Thank you so much for that information. LOL that they’re passing on the responsibility to you while offering that functionality. Really now, Houzz. Not cool.
Lincoln
| 29 January 2021Amazing content Nicole. I really loved all the information you shared and put out there! The interior design images were great as well!